Showing posts with label After. Show all posts

Monday, October 31, 2011

Second Bedroom: Paint

Once again, I must first apologize for the delayed posting. We had us some Internet connectivity troubles (among other small fires--ha!), and as a result, were unable to get to this post until now. These issues appear to be resolved for now, so without further ado, I present to you the Second Bedroom Painting Process/Outcome:


We started out on a Friday night with prepping and priming. We had to bring a bunch of supplies up from our storage locker, move all the furniture, and tape off/tarp the room...


(gallery o' gifts brushes -- if you ever lived at 7 Red Fox Lane in Amherst, MA, that one was for you)


We also decided to prime and paint the baseboards... We had once considered replacing these, to match the new ones in the living/dining room and halls, but with the carpet installation happening out of order thanks to the floor situation over the summer, we just decided this would be easier for now.
 

On the morning of Day 2 (aka Saturday, aka-College-Football-dictates-painting-schedule-day), we got up bright and early and got to work. For Dave this meant checking the prime-job and adjusting any tape, etc. For me, this meant a first-thing-in-the-morning-trip to our favorite paint store.

This morning also brought to us the discovery of another curiosity left-over from the previous owner. Instead of painting the wooden frame around the sliding doors, our home's former tenant covered them... with duct tape. A lesson for those who like to decorate with duct tape: old duct tape leaves residue behind. Dealing with this requires sanding. Dave also had to sand the wooden door frame:


When I returned from the paint store we got to work on coat #1. Hard to see it, but it's there:


After the Michigan game, we finished coat #2, and then let it dry overnight. Here you have a shot of the finished product, complete with freshly-painted wooden door frame and freshly-hung curtains:
 

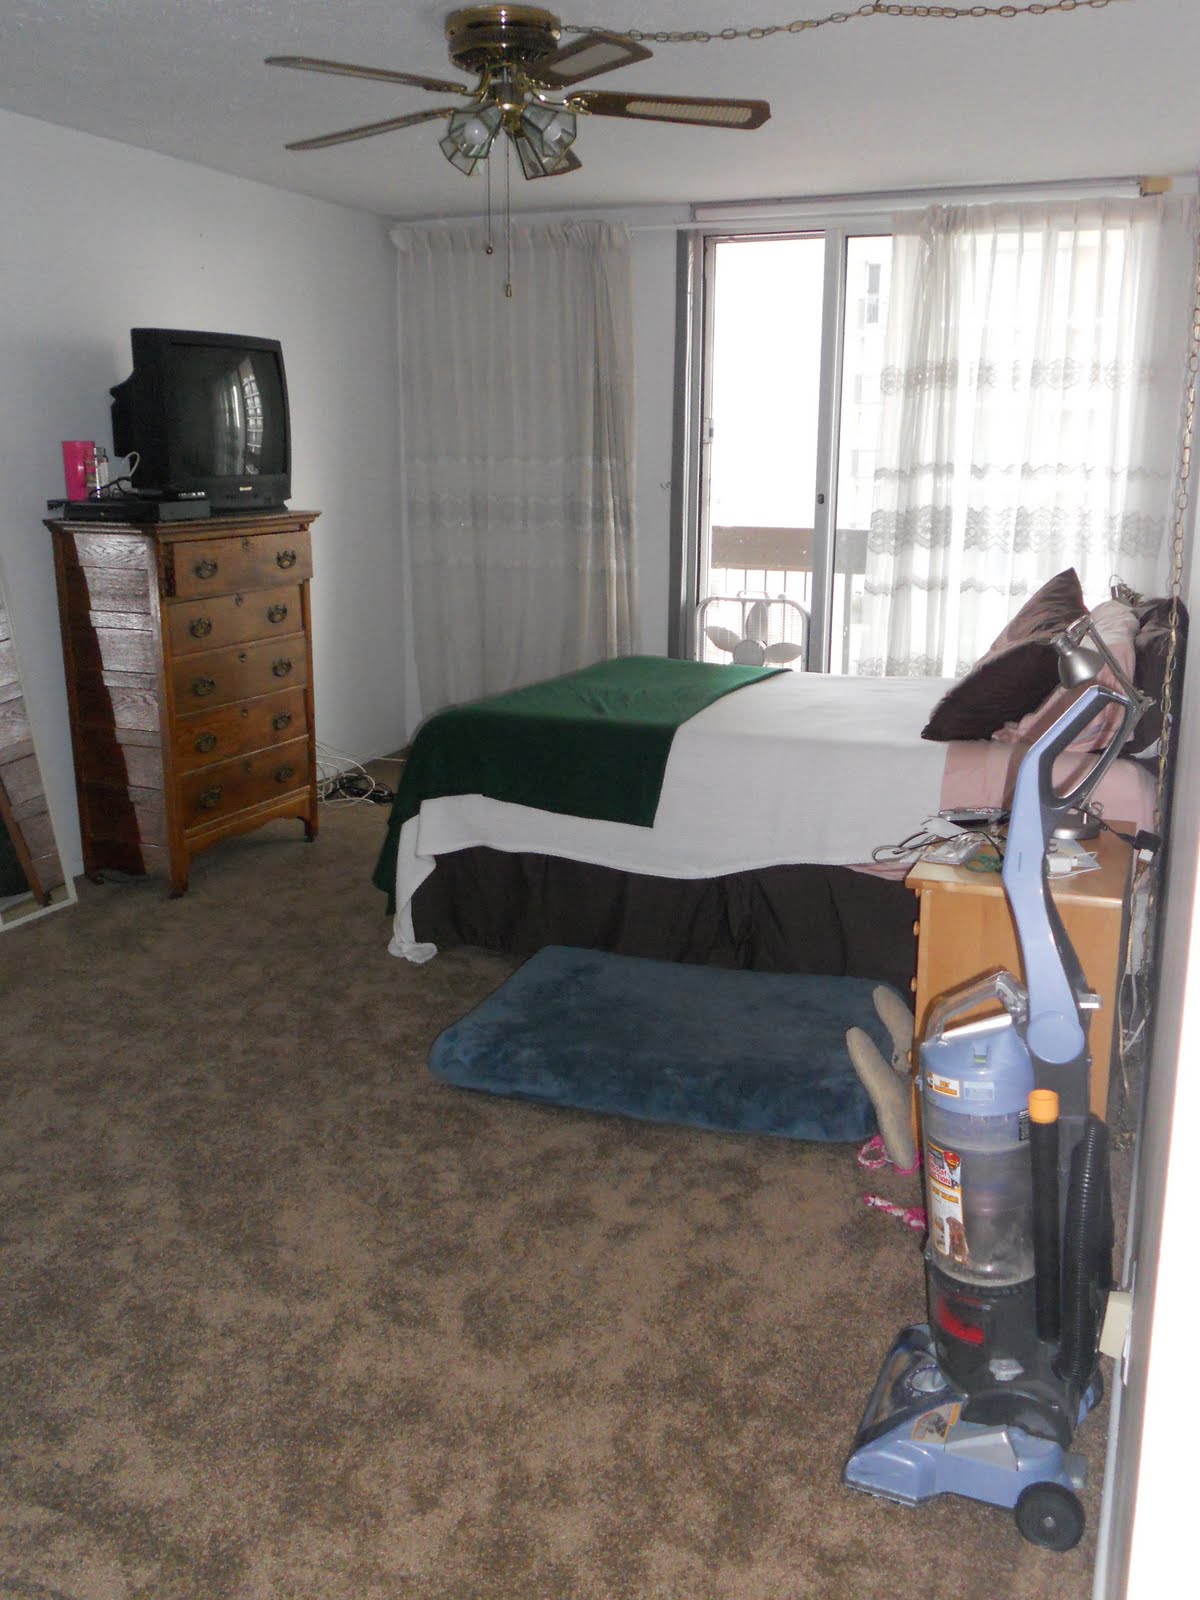
A second outcome of this project was the removal of the ugly old enormous ceiling fan (you can see a shot of it in this round-up post, in the photos of the new carpets), which also turned out to be somewhat of a danger, as it appears to have only been attached to the ceiling by those two tiny stud-screws you can see in the photo below. The search for new lighting starts... now!


Wednesday, September 7, 2011

One Year Later: Recap 1

I need to stop making posting-commitments I can't keep! Yeesh.

Well, so here we are. One year and a few weeks later. It's funny to think back to this time last year and recall just how different things looked and felt and seemed. The place looked like a step back in time, it felt very overwhelming, and it seemed like we'd taken on a big unknown/undo-able project. One year later... and a lot of that's changed. Some unexpected stumbling blocks have come up, but all in all, we've really made some progress and a make-over has truly been accomplished already. There's still much to be done, but here's what we've tackled so far:

Wallpaper
You may recall that we inherited The Museum of Old Ugly Wallpaper Samples. So far, these two are completely gone:


(kitchen)
(front hall)
and this one is mostly gone:

(second bathroom)
Bringing down the wallpaper in the kitchen was only the first step... We also went from this:


to this:
(we updated/painted the new cabinet, too, thanks to our amazing friend Zak Rose)
Also included in the kitchen update was Dave's truly impressive backsplash tiling, a hood installation, a pot rack installation, complete appliance replacement, and some counter-top updates, not to mention painting!


We have painted three major areas of the home, as well as those kitchen cabinets and the insides of both the front door and the kitchen-to-hallway door. Here is a quick summary of our paint jobs to date:


(front hall, hall, dining room accent wall)
(living room walls - both the grey-blue and the white stripe "faux moulding")
(kitchen)
We replaced two big ugly light fixtures (one of which may be switched out again, but is at least better than what was there before!):


(kitchen)
(dining room)
We bought some new furniture/accessory items:


(kitchen cart)
(mirror)
(dining room table/chairs)
(rug)
Oh yeah, and we replaced some flooring...TWICE!

(attempt #1)
(2nd time's the charm!)

Bonus: we got to re-carpet both bedrooms on go-around #2:


Other updates include:
  • replacing the sliding glass doors in the living room
  • some plumbing fixes in both bathrooms (these need not be rehashed)
  • balcony furniture
  • and some more I can't quite think of just now...
Other experiences in this past year include:
  • travel: Guatemala, San Francisco/Tahoe, Israel, Rhode Island, Cape Cod, Las Vegas
  • getting to know our neighborhood: Color Project
  • documenting our first year month by month
  • spending time and celebrating holidays and birthdays and other good times with family and friends
  • getting to live "on vacation" all summer
  • celebrating our second wedding anniversary
  • welcoming several new babies into our extended friend-family
  • and more, and more, and more.
Like I said before, there's still lots to do. But it's really incredible, and a little bit mind-blowing, to look back and see how much has happened in just one year!


Still-to-do-projects in the next post...


Sunday, March 20, 2011

Painted Doors

This weekend's big project was not the mirror - nor was it a big project. We decided to paint the inside side of the front door, as well as that of the door in the kitchen. We have been deliberating on what to do with the kitchen door for a while... At one point we considered buying like-stainless contact paper to cover it... but then thought that could be too much, and somewhat distracting, plus we couldn't find sheets of it that would be wide or long enough to cover the door, so it would have to be done in sections, which would leave obvious seams... Anyway, bad idea. So then we decided we should paint it. But if we were going to paint it, we needed to decide on a color... the wall color? the cabinet color? a contrast color? Conclusion: cabinet color - white. Here's the door before:

(not the prettiest)
And here's the door after:

(much better, right?!)
And once we were talking about painting the kitchen door, we agreed that the front door should be painted, too. The front door looked exactly the same as the kitchen door, except, you might remember it had some odd equation-looking writing etched into the top of it:

(19 + G + M + B + 89)
We were told by the realtor representing the seller that it was the remnants of a blessing left on the door by a Hungarian priest when the previous owner had the home blessed upon moving in. I have done LOTS of searching to try to figure out what it means, or even if it's truly what he claimed. I haven't found confirmation, but that doesn't necessarily mean anything, I guess. Anyway, I hope it's okay that we covered it!


This is going to be an exciting week at the HSS... we do, actually have a big project starting in a few days... and we'll be excited to share it with you!

Sunday, March 13, 2011

Lighting: Part II

And now Lighting Part II is complete! This one was a little more complicated. We had a challenge from the get-go because the build-out of the window in the new kitchen wall (and thus the extension of the counter into the dining area) meant we needed to move the dining room table out from under the center of the existing (wack-a-doo) light fixture. As the dining room lighting was set up with the previous wall in place, this meant that we'd need to either hire an electrician to rewire the thing, or find a light fixture that didn't depend on obvious centering to work in the space. As bonafide DIY-ers now, we clearly opted for the latter. Initially we thought we'd go with something big, and maybe flush mounted to the ceiling, taking up so much space that the true center wouldn't matter as much. But we couldn't really see something that big working in our dining/living area, so back to the drawing board. When we went to Home Depot earlier, we looked at several options that we thought could work, and ultimately landed on something that itself was off-center and could be mounted perpendicularly to the table and dining wall, such that the true center, again, wouldn't be as, well, central. Again, I have to give you the "Before" image as a recollection of where this all started...

(yes... it all began with this stunning basket-o-flowers chandelier)
The new light fixture is so different, and certainly light years more modern. We're having a hard time deciding if we will stick with it, but we're leaning toward yes, at least for now. I think making the leap from 1961 to 2011 overnight with one single home accessory is just a little bit of a jolt so we need to let it set in more! Anyway... here it is from installation to lit:

(basket gone!)
(putting up the bulbs and shades was tricky, actually)
(one up, three to go)
(much better, right?!)
(and just to further prove Dave's handy skills... lit!)
 

Lighting: Part I

I feel like I've been saying "you may recall..." a lot lately, but we've been accomplishing so many easy, beautiful updates, that it warrants recalling the wack-a-doo that was this place when we moved in! Today's installments relate to lighting. Part I, in the kitchen, has already been tackled with great success. Part II, in the dining room, is in-process right now, so I'll have another update shortly. So here's what the previous lighting/fan situation in the kitchen was:

(sorry for the bad lighting... but you can still see it's wack-a-doo-ness)

You may also remember that we joked about it having the tiniest fan blades in the world:


Well, goofy-old-tiny fan has been replaced! We took a trip to Home Depot this afternoon, and found a replacement that, while still small, wasn't as ridiculously small, and is a modern, sharp update for our nearly-complete kitchen. Having never replaced or put together a ceiling fan before, Dave was a little nervous. But once again, he's proven himself a handy handyman, and we have success:


(goodbye ugly oddity!)
(putting together the base for the new fan/light)
(fan: installed! now for light)
(lights going in... and...
(new ceiling fan/light fixture installed and functional!)
Now for the dining room light...

Wednesday, March 9, 2011

Zak Rose

I've been thinking about this post for a while now. I don't quite know how to say what I want to say... I'll just go off the cuff.

We are extraordinarily fortunate (and fully aware of this fortune) to have wonderful, loving and supportive families, and also wonderful, loving and supportive friends, who are also our family. Among these friends, we also have some incredible talents, and to be able to count these among our nearest and dearest is pretty great, just for bragging rights.

One of these, please take note, is our incredible friend Zak Rose. Please pause now and check his work out here. Thank you.

You may remember this base cabinet we bought to add storage and help support the new counter tops in the kitchen:

(courtesy of Home Depot)
We struggled with how to blend this clearly new cabinet in with the old, which we'd painted white. Would painting be enough? Ultimately, we felt we needed outside input, so we consulted with Zak. He encouraged us to try to work on the new cabinet and drawer to get them to match, and offered his services. Obviously, we took him up on his offer. To have the support of friends as we've tackled this project has been more than we knew we'd need at times. But now, to have a friend be part of it in such a notable way, and to be able to see him in the work we've accomplished so far in making this place our home, is just, in a word, beyond.

And behold -- it's amazing:


You would NEVER know they weren't original without serious examination! Can you even believe it?! Here's one of the existing (painted) cabinets for comparison:


While this certainly does not do Zak's substantial talents and artistry enough justice, it's still pretty amazing, and we love it, and couldn't be happier with the result. We never doubted Zak's abilities, but this is absurdly wonderful.

Please, if you're in the Chicago area and are looking for custom work for any reason, consider contacting Zak Rose. zakrose.com

Thank you, Z. We love you.